Recently I was in a situation where I needed to demonstrate an Android App to a client, but didn’t have an Android device with me. I did however, have a Windows tablet with an internet connection to my development machine which does have an Android device, albeit a virtual one!
Here’s how I set it up…
Note: if you’re in this just to run Android apps on your pc and you’re not a developer, you might want to consider BlueStacks (Google Bing it). Personally, I don’t like it as it’s very invasive and the service that it installs kept crashing but YMMV.
This guide assumes you already have Hyper-V installed, and that you have a fairly powerful machine.
I’ve tried this on my machine development machine (i7 5960x, 32GB RAM) and a lower-end test machine (i5 2400, 12GB RAM) and both work perfectly with no lag.
First, you’ll want to download the Visual Studio Emulator for Android from here:
https://www.visualstudio.com/en-us/features/msft-android-emulator-vs.aspx
This is totally free and doesn’t require a Visual Studio/MSDN subscription.
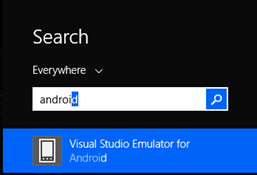
Once installed, launch it from the Start Menu:
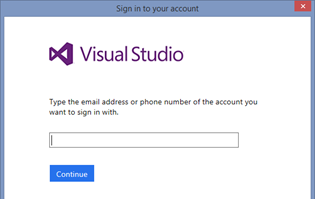
You’ll be prompted to sign in with your Microsoft account – you can just use a free Hotmail account if you wish.
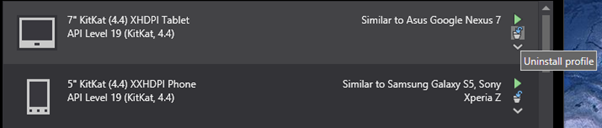
At this point you’ll be prompted to setup “profiles”. These are the specifications of the virtual devices that you want to launch.
I uninstalled the default profiles by using the ‘uninstall profile’ icon:
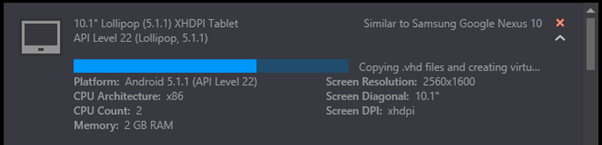
Next, select a device that you wish to run – I choose the 10.1″ Lollipop “Nexus 10” device and clicked Install profile.

As far as I can tell, the emulator will use as much CPU as the host computer will give it – there is no throttling involved. (Let me know in the comments if this isn’t correct!)
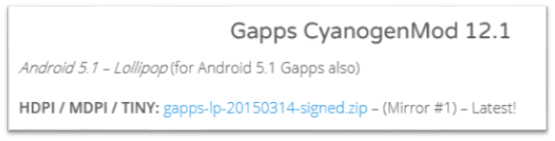
Whilst you’re waiting for the profile to download, you’ll want to grab a copy of the Google Play Store and Google Apps from here: http://www.teamandroid.com/gapps/
Choose the version that corresponds with the device type that you’re installing. Here, I’m using an Android 5.1 device, so grab that file:
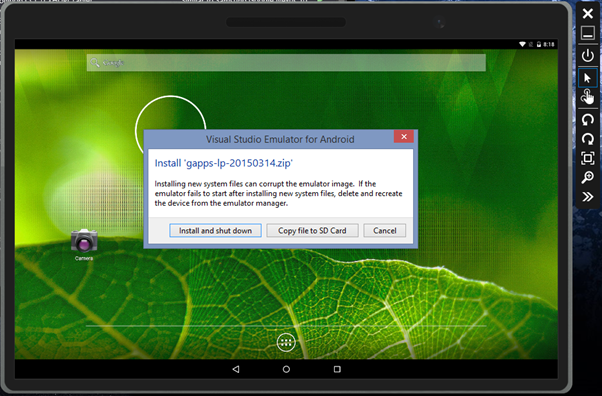
When it’s downloaded, start your device by using the Green ‘play’ icon and let Android start up. Go through the initial setup (there isn’t much!) and then drag the Gapps zip file onto the screen of the device:
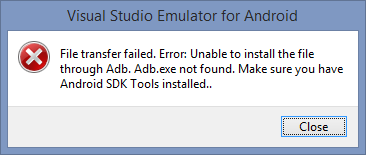
At this point, if you don’t have the Android SDK installed, you’ll get this: Otherwise skip ahead!
Go grab the Java Development Kit (this is NOT the normal Java download – so unless you’ve been developing Java/Android apps in the past, you’ll need to get this!): http://www.oracle.com/technetwork/java/javase/downloads/index.html
Hit the button for ‘JDK’, accept the license agreement and download the required version:


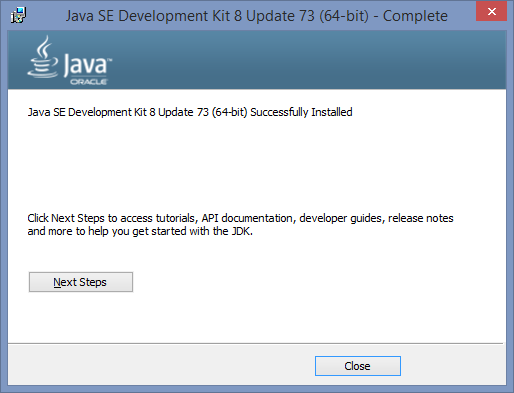
Go ahead and install the software until you get to this screen:
Once this is installed, you’ll need to download the Android SDK Tools (now bundled with Android Studio): http://developer.android.com/sdk/index.html

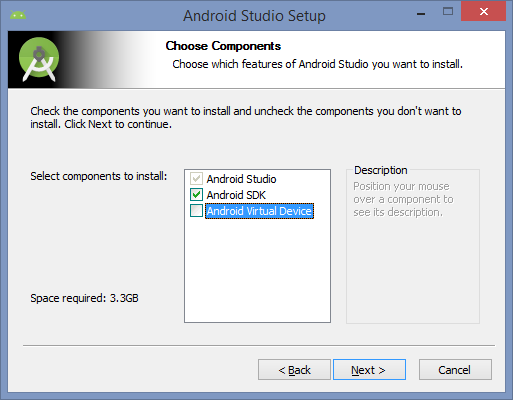
Again, install this:
But uncheck the ‘Android Virtual Device’ – we’re using the Visual Studio one (because it’s better).
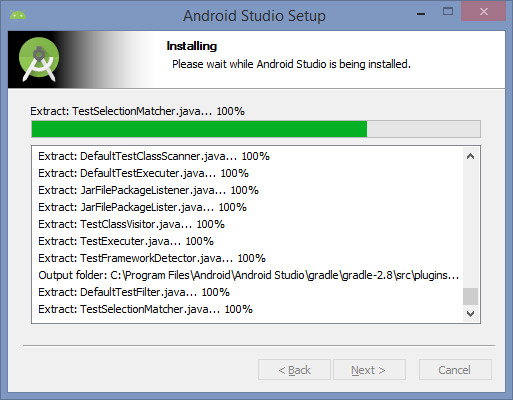
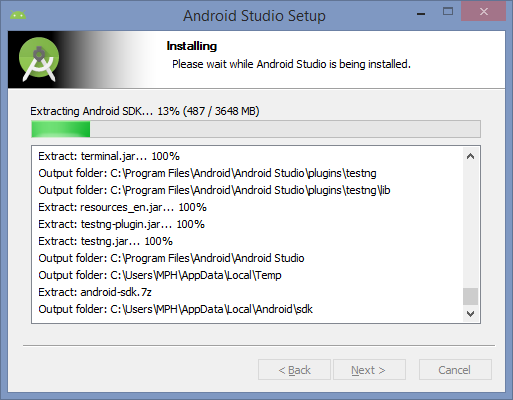
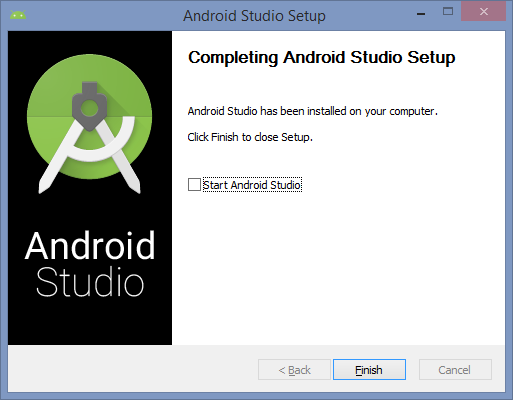
This takes AGES – but eventually you’ll get the completed screen. Untick ‘Start Android Studio’ and hit finish.
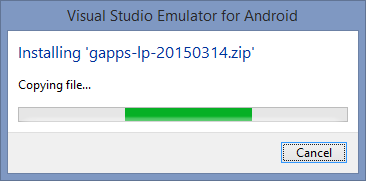
Now when you drag the gapps file onto your emulator, you’ll see this:
Followed shortly by a prompt to restart the emulator. Shut it down and then relaunch it and hopefully you’ll see this when it starts back up:
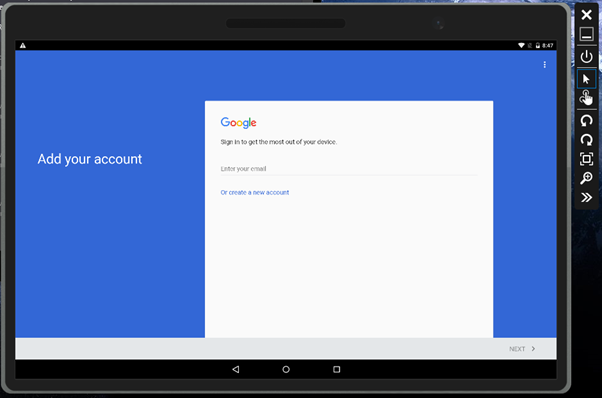
Navigate to ‘Google Play’ from the launcher and then go through the step to setup your Google account:
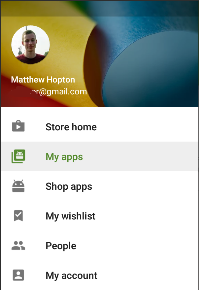
Once signed in, hit the hamburger menu and go to ‘My Apps’ – update ‘Google’:

And that’s it! You can now install Apps from the Google Play store and run them as if you were actually using a Tablet.
I prefer using the Visual Studio Emulator over the normal Google one, as it shows up as a ‘Physical Device’ to other Android development tools (such as Xamarin, and even the Android Studio suite itself). They seem to ‘play nicer’ with physical devices for some reason (and you don’t have to wait ages for it to start up!).
Within Visual Studio, when developing an Android project (for example through Xamarin) the emulator will show up as a debugging target, which is nice.
Google Play… Games?
Just for fun, I decided to see if the emulator (and Google) will let you install Google Play Games, and play something.
From the launcher, open Google Play Store and then search for ‘Google Play Games’:
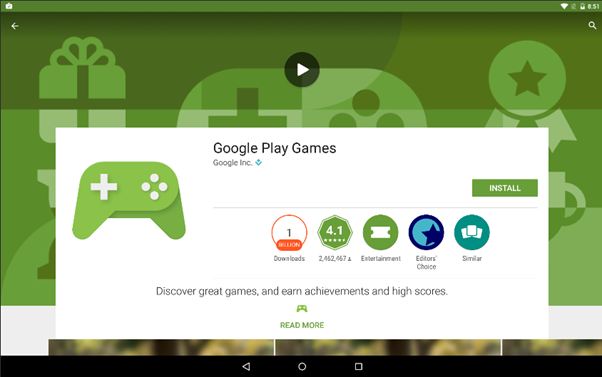
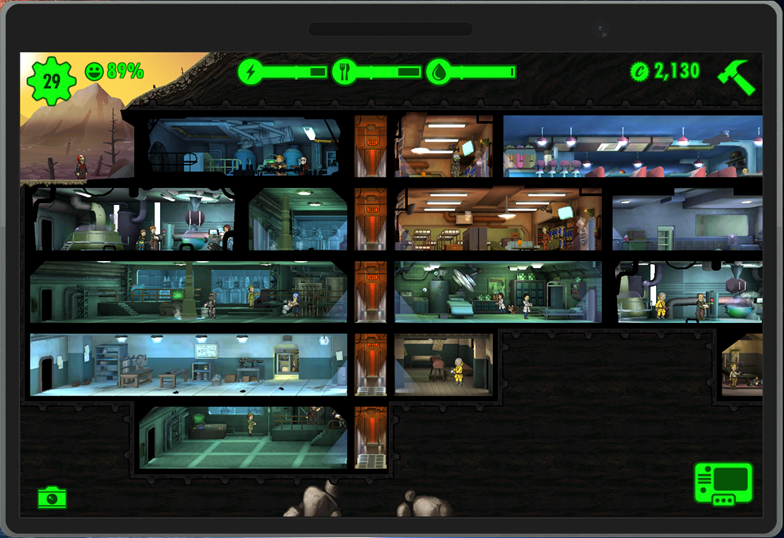
Install it and then search for and install the game of your choice. Here I went for Fallout Shelter – great game, you should play it!
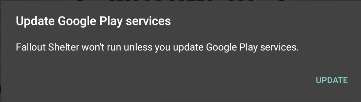
When it first started, it give me the dreaded ‘Update Google Play Services’ screen, but I went through with this with no errors:

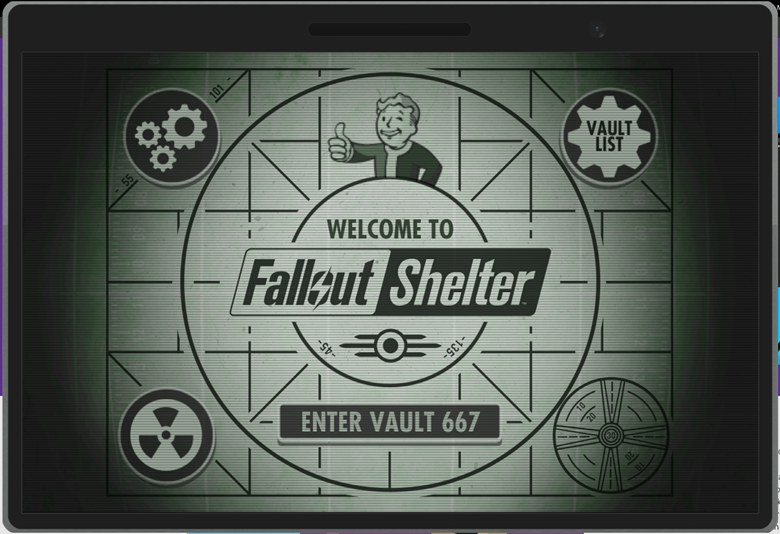
Before you knew it – Fallout Shelter, on Windows!
Leave a Reply